
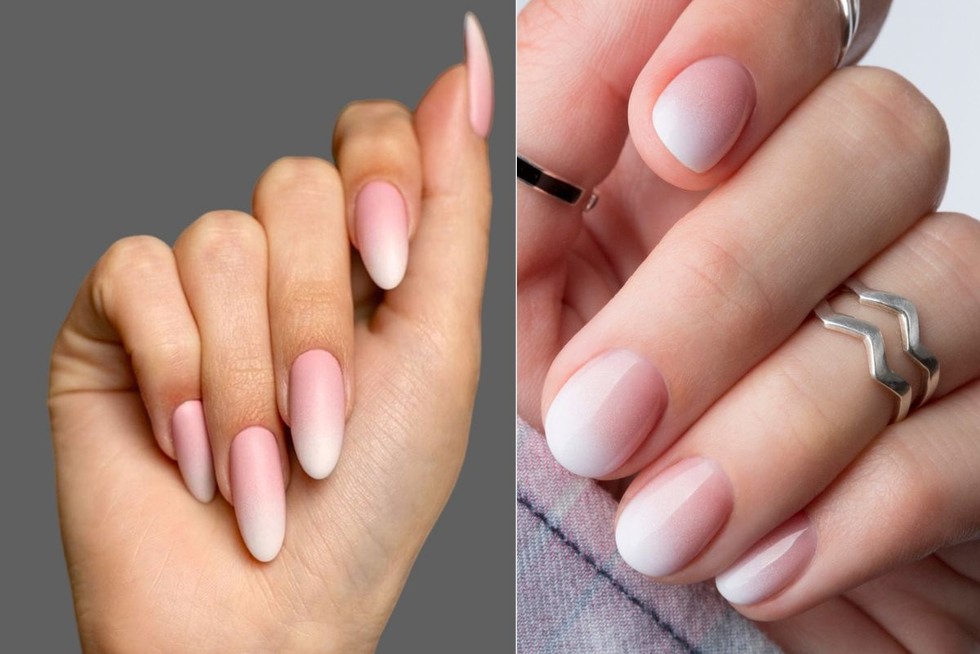
Not long ago, I sat in my kitchen, determined to recreate the nails I had seen flooding my social media feed – those impossibly elegant French fades that looked like soft morning light on freshly fallen snow. After a few failed attempts, I finally cracked the code of the perfect gradient. Now I want to share everything I’ve learned so you can master this beautiful style too.
What Is a Baby Boomer Manicure?
A baby boomer manicure – also known as French fade, French ombré, or the milky French – is a modern twist on the classic French manicure. Instead of the traditional stark white tip separated by a crisp line, this style features a soft, seamless gradient where the pink or nude base fades gently into a creamy white tip. The result is a subtle, romantic, and incredibly flattering finish that elongates the appearance of your fingers and suits absolutely any nail shape or skin tone.
Nail artist Emma Jackson describes it best: “A French manicure showcases a defined line on the nail, whereas a baby boomer nail has a subtle gradient effect, using similar shades that are expertly blended to create a seamless ombré effect”. The name is a nostalgic nod to the era when pink-and-white nails first rose to popularity.
Why Choose a Baby Boomer Manicure?
This style has stayed beloved for several important reasons. It’s the manicure equivalent of dewy, natural skin – polished without looking overdone. It photographs beautifully, works for literally any occasion (from weddings to the office), and is hands-down one of the most low-maintenance looks you can choose. Because the colors blend subtly, there is no harsh line of regrowth, so it grows out more naturally and gracefully than a classic French will ever manage. Plus, it effortlessly aligns with 2026’s trend toward softer, more wearable elegance that suits every age group, lifestyle, and nail length.
How to Create a Baby Boomer Manicure at Home: Two Proven Methods
What You’ll Need
- Base coat, nude/pink polish, and white polish (gel or regular)
- UV/LED lamp (for gel) – Highly recommended for fade longevity
- Makeup sponge wedges for the sponge technique
- Small ombré brush for the brush technique (alternative)
- Top coat, nail file, cuticle pusher, lint‑free wipes, and pure acetone
- Toothpicks or palette for mixing polishes
For a seamless outcome, use slightly semi‑transparent polishes rather than opaque, heavy ones. Milky or sheer formulas make blending far easier for beginners.
Step 1: The Master Prep
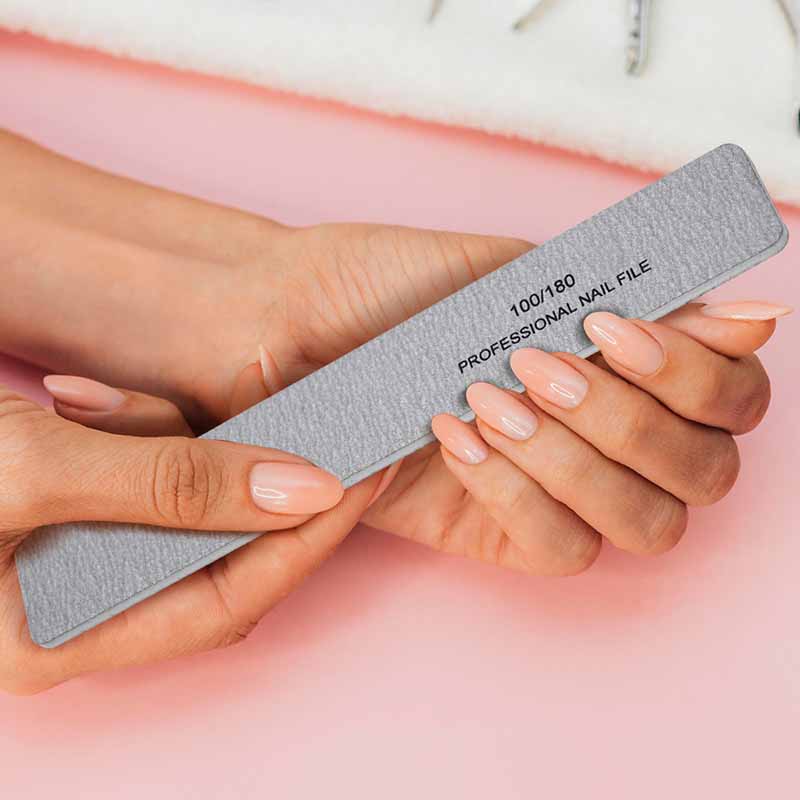
Prep is non‑negotiable. Start with clean, dry hands. Gently push back your cuticles, buff the nail surface lightly to remove shine, and shape your nails with a fine‑grit file. Wipe away all dust and oil with a lint‑free wipe and polish remover. Apply a thin base coat and cap the free edge, then cure (30‑60 seconds under LED, 2 minutes under UV) if using gel, or let it dry fully if using regular polish.
Step 2: Apply the Base Color
Apply one or two thin coats of your nude or pale pink polish to every nail. For sheer stunning results, let each coat dry completely before adding the next. Cure or dry fully before moving to the gradient stage.
Step 3: Create the Ombre Gradient – Two Techniques
The Sponge Method (Best for Beginners)
Take a small makeup sponge wedge and cut off the smooth, factory‑sealed outer face. You want the raw, porous foam inside. On a palette or piece of paper, paint a stripe of your pink polish next to a stripe of white polish, slightly overlapping them at the center. Gently dab the sponge onto the tip of your nail using a light, bouncing motion – press too hard and you’ll trap air bubbles into the gel. The first layer will look patchy; that is entirely normal. Cure (or let dry) and repeat with a fresh application 2‑3 times until the fade is smooth and opaque. Clean up any polish on skin with a small brush dipped in acetone.
The Ombré Brush Method (The Cleaner Pro Choice)
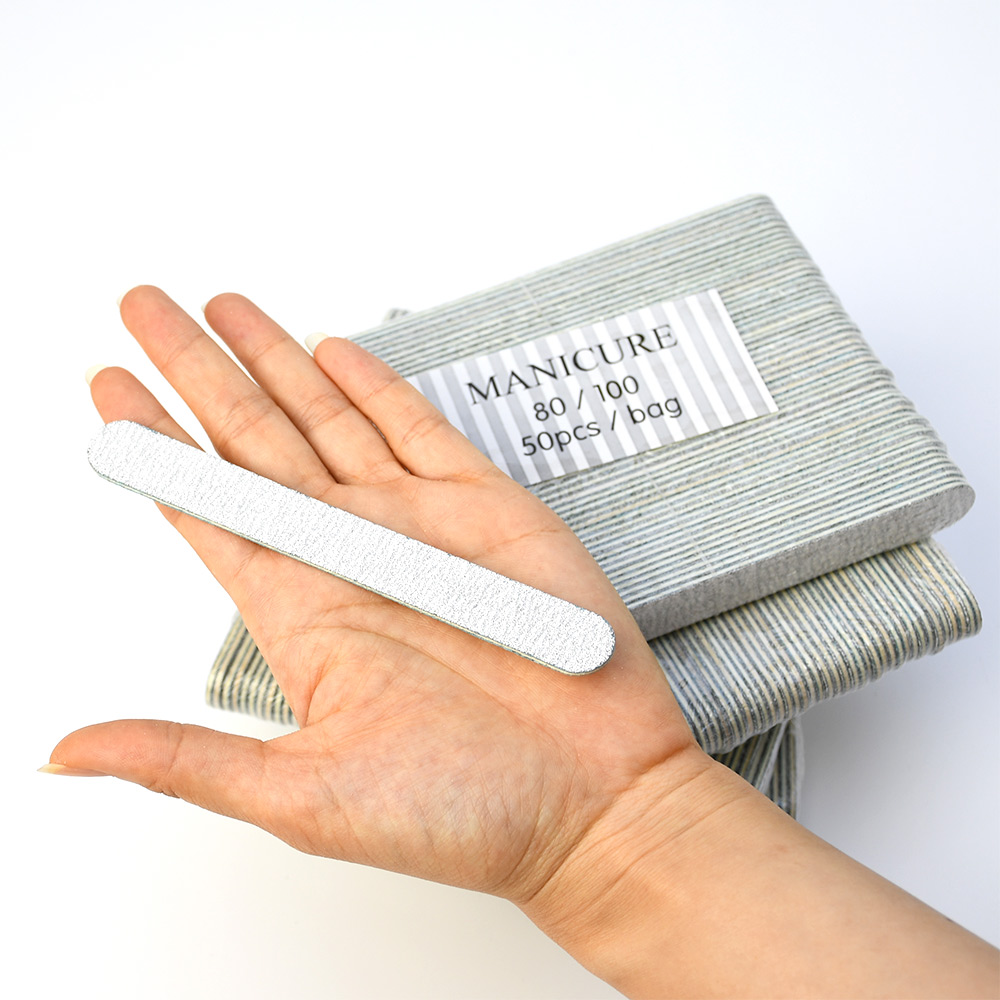
Paint the upper half of your nail with a thin line of white gel polish. Use an ombré brush (a very fine wispy liner brush) to gently blend the harsh bottom line of the white into the bare nail, pulling the pigment downward. Cure. Then apply your sheer pink polish over the entire nail. If you need to remove pink from the tip area, use the same liner brush to gently blend the pink into the white before curing. This method uses less product, creates zero waste, and leaves a perfectly smooth surface without sponge texture.
Step 4: Seal and Protect
Once you are satisfied with the gradient, apply a generous layer of glossy top coat. Cap the free edge thoroughly to prevent premature chipping and seal the fade in beautifully.
Maintenance Tips That Truly Extend Your Baby Boomer Manicure
- Always cap the free edge – Run your brush along the nail tip during base coat, every color layer, and top coat to prevent water from seeping underneath.
- Apply cuticle oil every single day. Hydrated nails are flexible nails, and flexibility prevents cracking and lifting. Use jojoba oil twice daily.
- Wear gloves for all chores. Water and dish soap are the two fastest killers of a delicate gradient fade.
- Never pick or peel. If you notice a small chip, gently file the edge smooth and apply a thin layer of top coat to seal it.
- For regular polish, the fade can be refreshed with a fresh top coat every 2‑3 days. For gel, treat this manicure as you would any gel set: fill or remove every 2‑3 weeks to keep the structure flawless.
The Bottom Line
The baby boomer manicure delivers everything we love most in nail art: timeless sophistication, easy elegance, and an effortlessly flattering look that makes your hands look longer, more polished, and beautifully cared for. With a little patience and the right blending technique, this stunning French fade is absolutely achievable in your own home.
And honestly? Watching that soft pink melt into creamy white under your top coat is one of the most satisfying moments in home manicure history. Once you get it right, you will never want a stark line again.
Read also: Yellow Nails: Causes, Prevention, and Remedies
[…] Read also: The Complete Guide to Baby Boomer Manicure: Timeless Gradient Nails at Home […]