
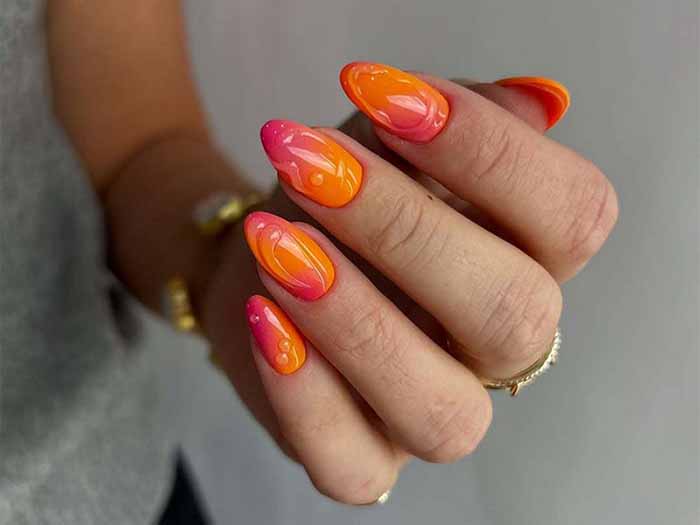
Summer is the season of energy, boldness, and unapologetic self‑expression. And nothing captures that electric spirit quite like neon nail art. From highlighter yellows to blazing pinks and vivid greens, fluorescent shades have become a warm‑weather staple—not just a trend, but a celebration of colour itself.
The Unique Charm of Neon Nails
Neon polishes have an almost magical quality: they seem to glow. Unlike pastels or nudes, fluorescent pigments contain optical brighteners that absorb ultraviolet light and re‑emit it at a longer wavelength, creating that intense, “lit‑from‑within” effect. Even on an overcast day, neon nails catch the eye and brighten your whole look.
Beyond the science, there’s a psychological lift. Wearing a colour that demands attention can boost your mood, spark creativity, and even make you feel more confident. Neon nails are not subtle—and that’s the point. They say “I’m here to enjoy the moment.” Whether you choose a single bold pop on each finger or mix multiple neon shades, your hands become part of your outfit’s most memorable accessory.
Why Neon Is a Perfect Match for Summer
Summer is synonymous with high energy, outdoor activities, and vibrant fashion. Neon aligns with that energy in several ways:
- It pops against tanned skin. As your skin warms and darkens under the sun, neon colours contrast beautifully, creating a striking, fresh look.
- It complements bright wardrobes. White linen, tropical prints, neon‑trimmed swimwear—fluorescent nails tie your entire summer aesthetic together.
- It thrives in natural light. Fluorescent pigments are designed to shine under sunlight. A neon manicure looks its absolute best during a beach day or an outdoor brunch.
- It matches the summer mood. Summer is about fun, festivals, and taking risks. Neon nails embody that carefree, “let’s try something new” attitude.
How to Create a Flawless Neon Manicure
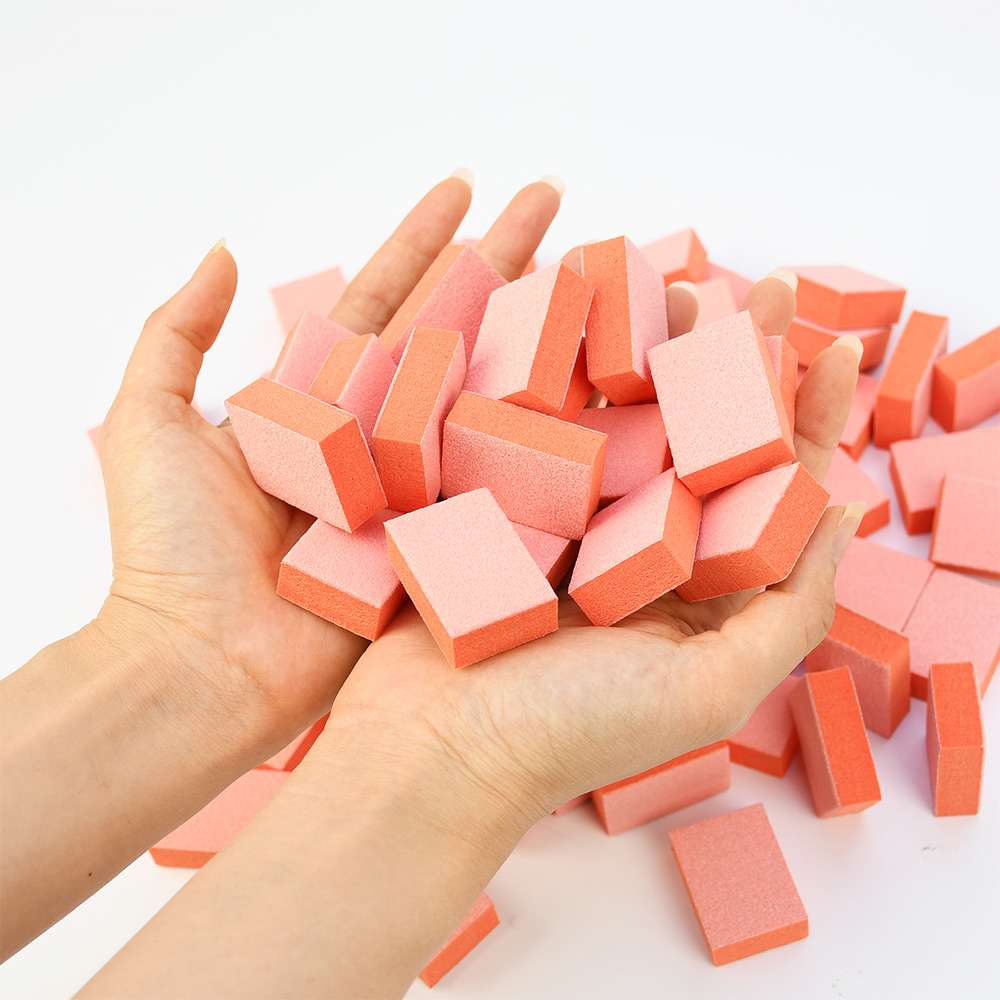
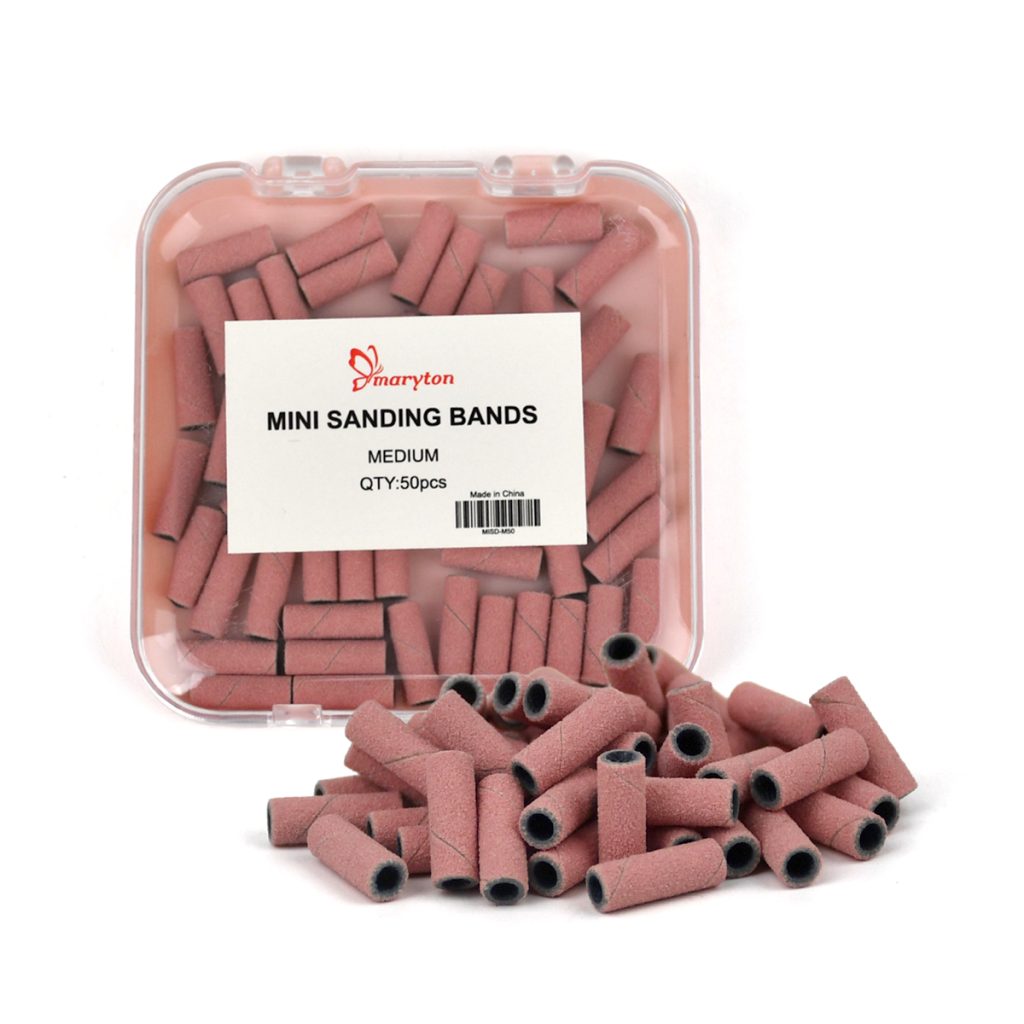
Achieving a perfect neon look at home requires a few key techniques and nail supplies. Because fluorescent polishes are often thinner and more translucent than regular colours, preparation and layering are critical.
Step 1 – Prep Your Nails Thoroughly
Remove old polish, shape your nails, and gently push back cuticles. Lightly buff the nail surface to remove shine and wipe with rubbing alcohol. A clean, oil‑free base ensures the polish adheres evenly.
Step 2 – Use a White Base Coat (Essential)
This is the single most important step for neon polish. Apply one or two thin layers of a bright white or milky white base coat and let it dry completely. Without a white underlay, neon colours look muddy, patchy, and disappointing. The white base reflects light back through the pigment, making the colour “pop.”
Step 3 – Apply Thin Layers of Neon Colour
Neon polishes are best built up in two to three thin coats. Thick coats tend to dry unevenly and can become tacky or bubble. Allow each coat to dry thoroughly before applying the next. If using gel polish, cure between coats as usual.
Step 4 – Seal with a High‑Gloss Top Coat
A quality top coat not only adds shine but also protects the neon pigment from fading. UV exposure can dull fluorescent colours over time, so a UV‑protective top coat is a smart choice for extended wear.
Step 5 – Clean Up Edges
Use a small brush dipped in remover to perfect the cuticle line. Sharp, clean edges make even the boldest colour look professional.
Summer Colour Selection Guide and Pro Tips
Not all neon shades suit every skin tone or occasion. Here’s how to choose:
- Fair skin with cool undertones: Electric pink, magenta, or violet create a beautiful contrast. Avoid very yellow‑based neons, which can look harsh.
- Olive or medium skin: Lime green, hot coral, and tangerine glow against warm undertones. You can also mix neon with pastel accents for a softer take.
- Dark or deep skin: Highlighter yellow, electric blue, and shocking orange look absolutely stunning. Deep skin carries intense colour with incredible richness.
Fun Summer Neon Ideas
- Rainbow tips: Paint each nail a different neon shade for a playful, festival‑ready look.
- Neon French: Instead of white tips, use neon yellow, pink, or green on a bare or nude base.
- Half‑moon neon: Leave the cuticle area bare and paint the rest of the nail in a vibrant hue.
- Glitter overlay: Add a coat of clear glitter over your neon for a party‑ready finish.
Longevity Tips for Neon Gel Polish
- Always cap the free edge (the tip of the nail) with every layer.
- Wear gloves when washing dishes or using cleaning products.
- Apply cuticle oil daily to keep the manicure flexible and lift‑free.
- Avoid prolonged exposure to direct sunlight when not necessary, as UV rays can fade the pigment over time.
Neon nails are more than a summer trend—they are an invitation to be bold, play with colour, and celebrate the season’s infectious energy. With the right preparation and a little creativity, you can rock a fluorescent manicure that turns heads and lifts spirits, from the beach to the barbecue.
Have you tried neon nails? What’s your favourite shade? Share your summer nail stories in the comments—I’d love to hear how you wear the rainbow.
Read also: The Complete Guide to Baby Boomer Manicure: Timeless Gradient Nails at Home